Deployment Nuxt3 Project in AWS EC2 with AWS CodeDeploy and Github Action - Setting part
Hi, I’m Lovefield.
This article covers CI/D. This is the method I used for the process of deploying Nuxt3 to AWS EC2 after completing the work. Use Github Action and AWS CodeDeploy to develop CI/CD. Inevitably, the contents were increased, so I wrote the parts separately, and in this article, I will focus on the setting.
1. Create ACCESS Key
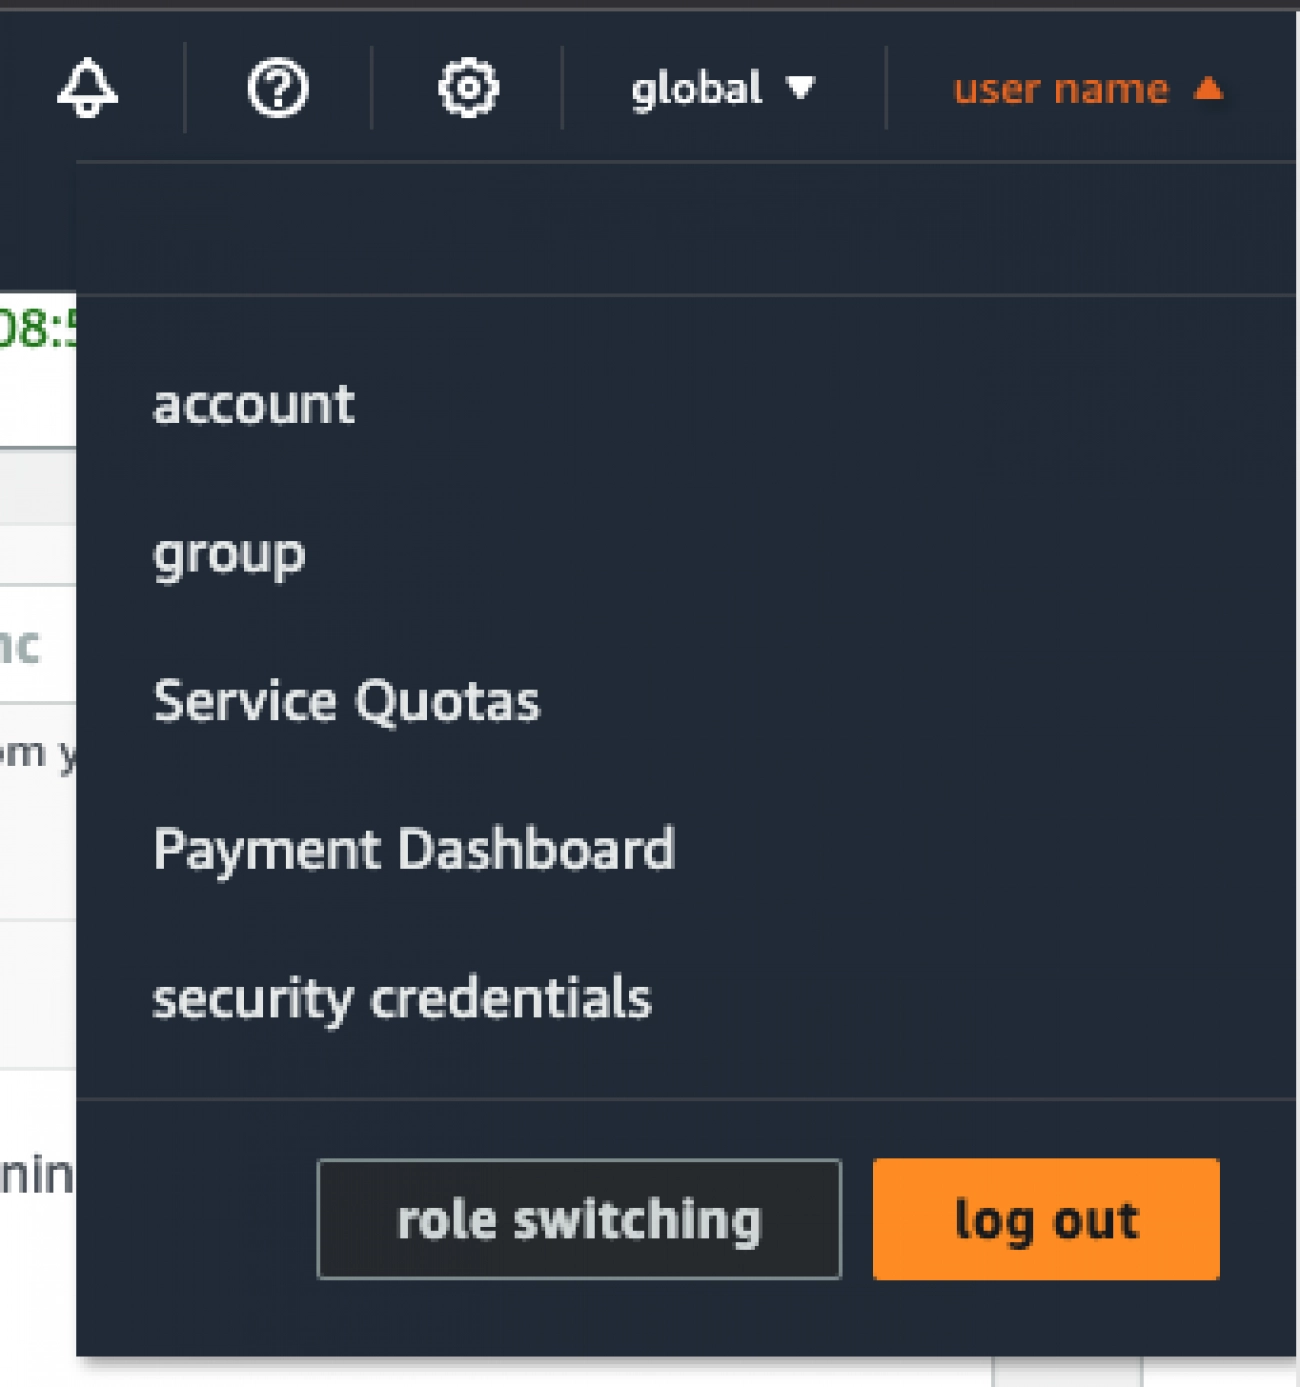
Move to "security credentials" from the top right user menu. And create an ACCESS Key so that you can access it through the CLI.
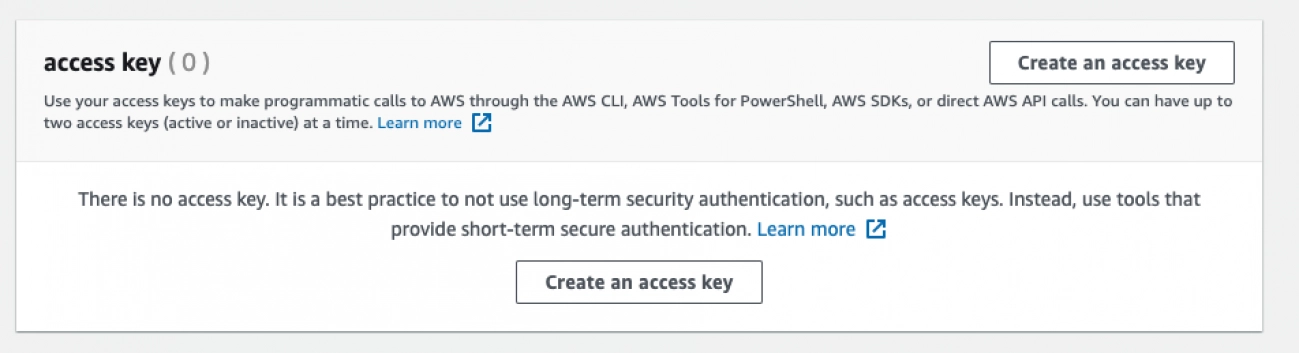
Pass to click "Create an access Key".
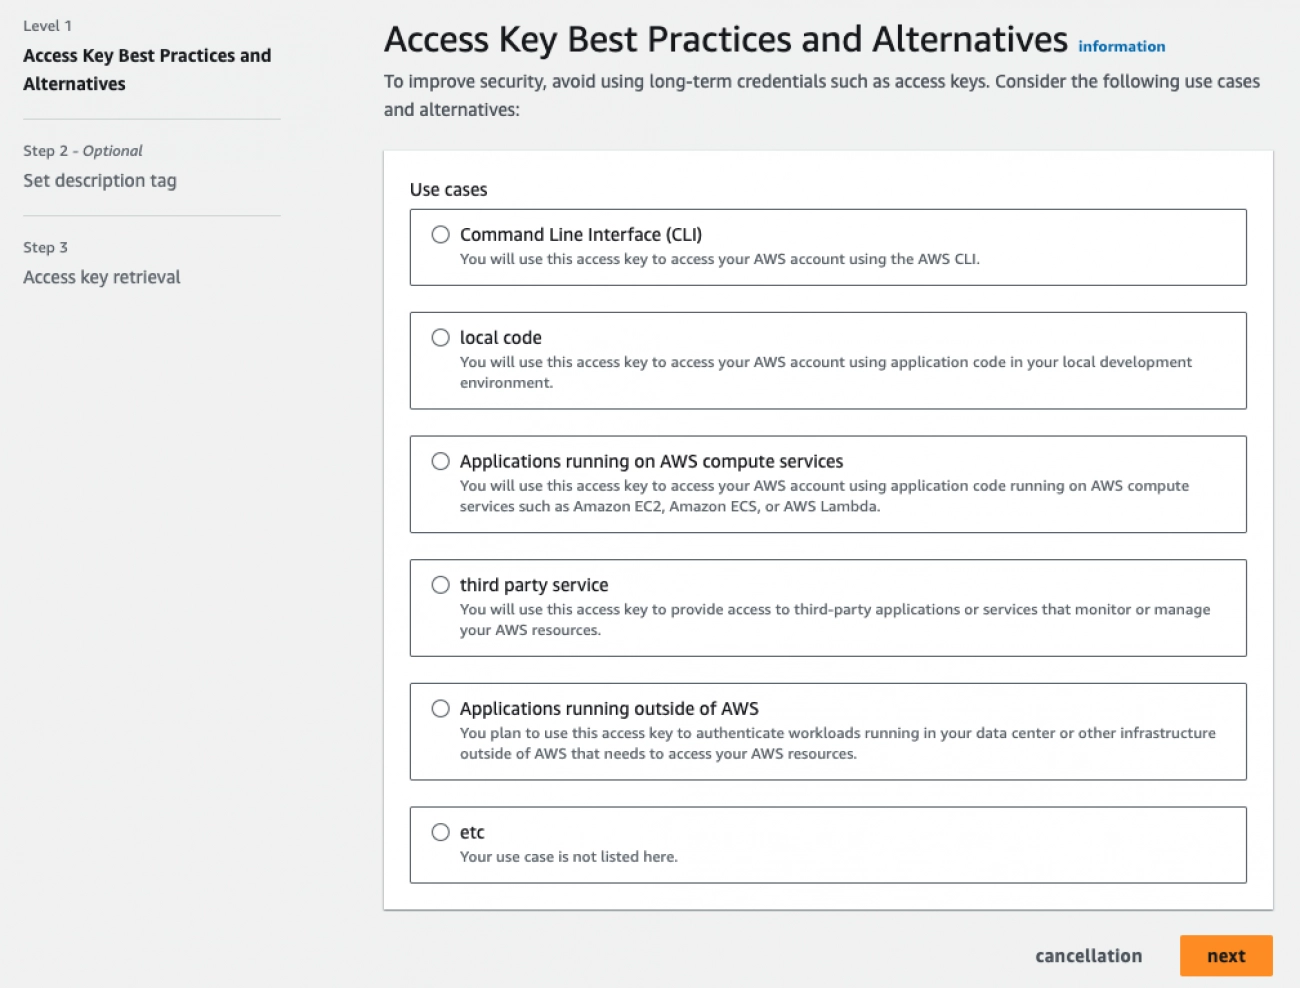
We are using CLI practices and alternatives. Select Command Line Interface and Pass to click next. We skipped the description tag because we didn't use it.
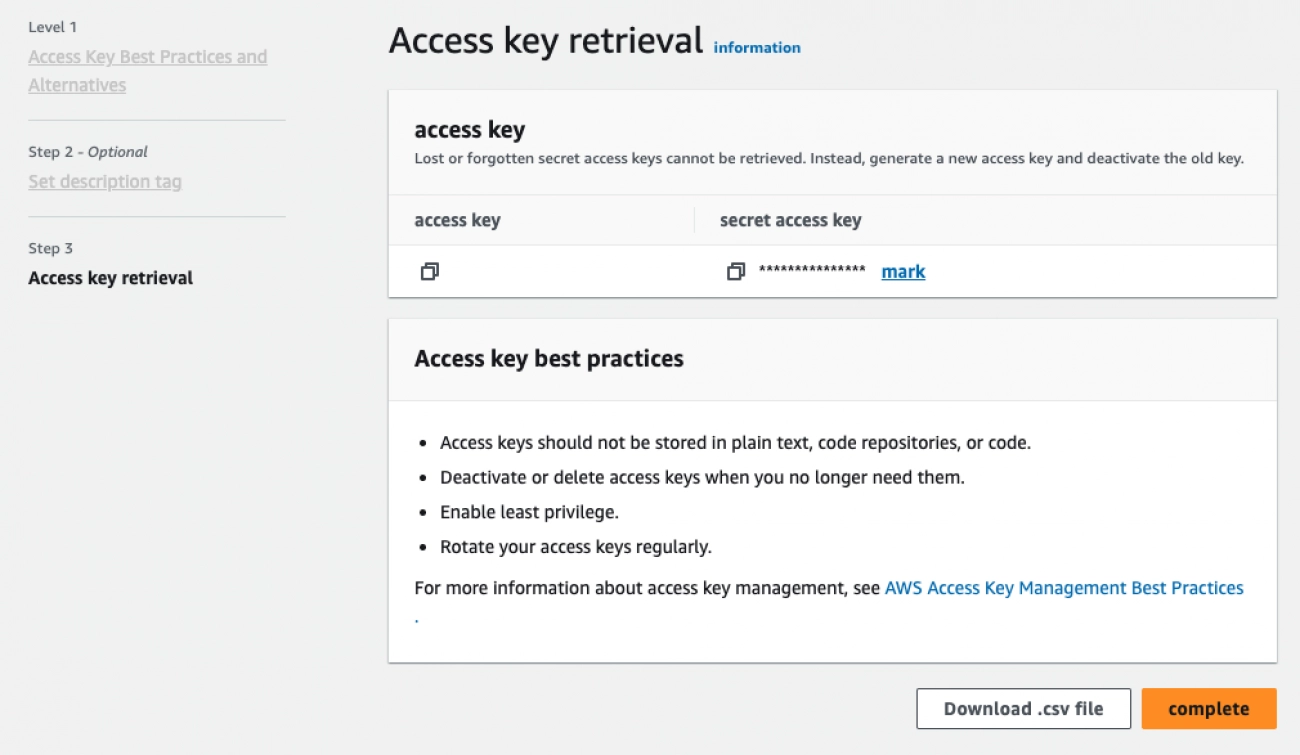
The generated keys must be set in Github Secrets.
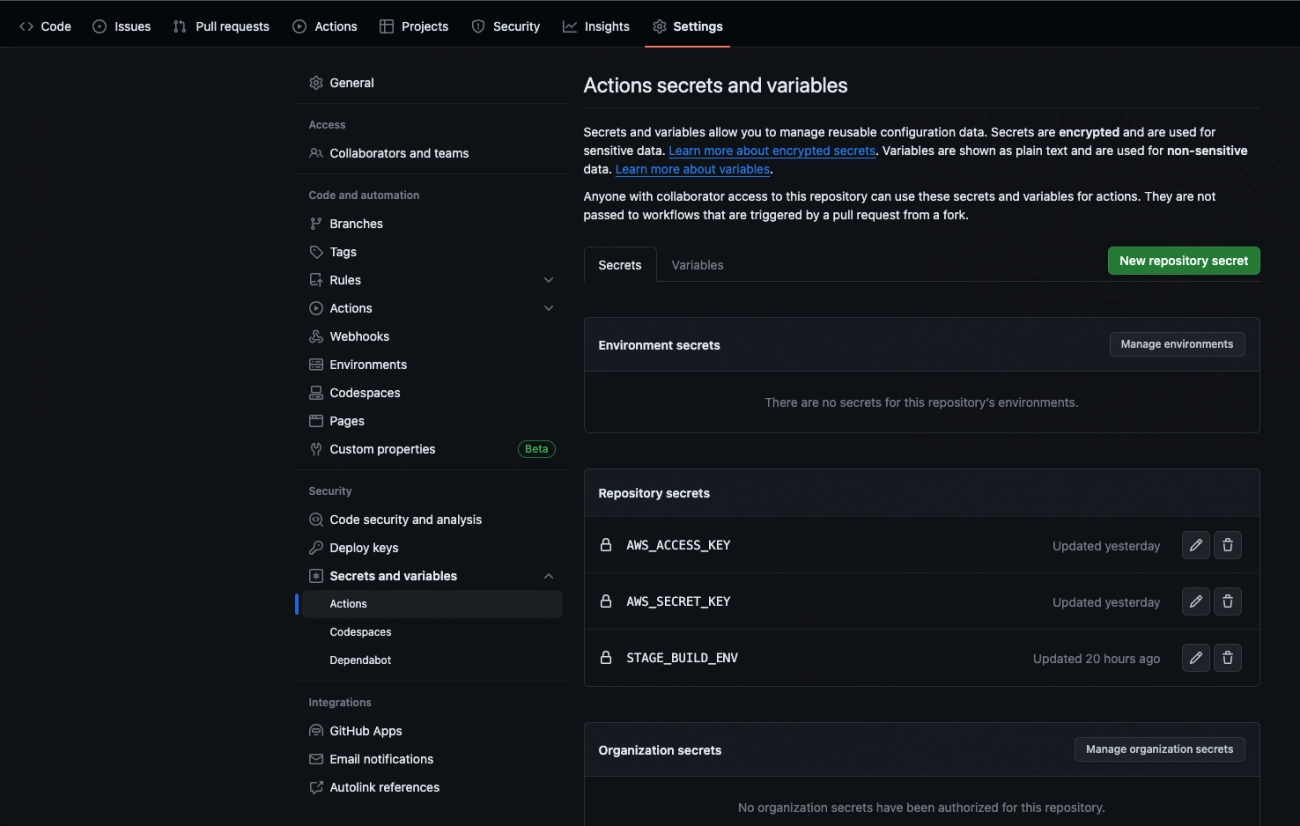
Register repository Secrets under "Settings > Secrets and variables > Actions" in the repository where you want to create the Github Action. In my case, I needed an env file when I built it, so I also created a secret containing the env information.
2. AWS IAM(Identity and Access Management) setting
Create a role to use in CodeDeploy.
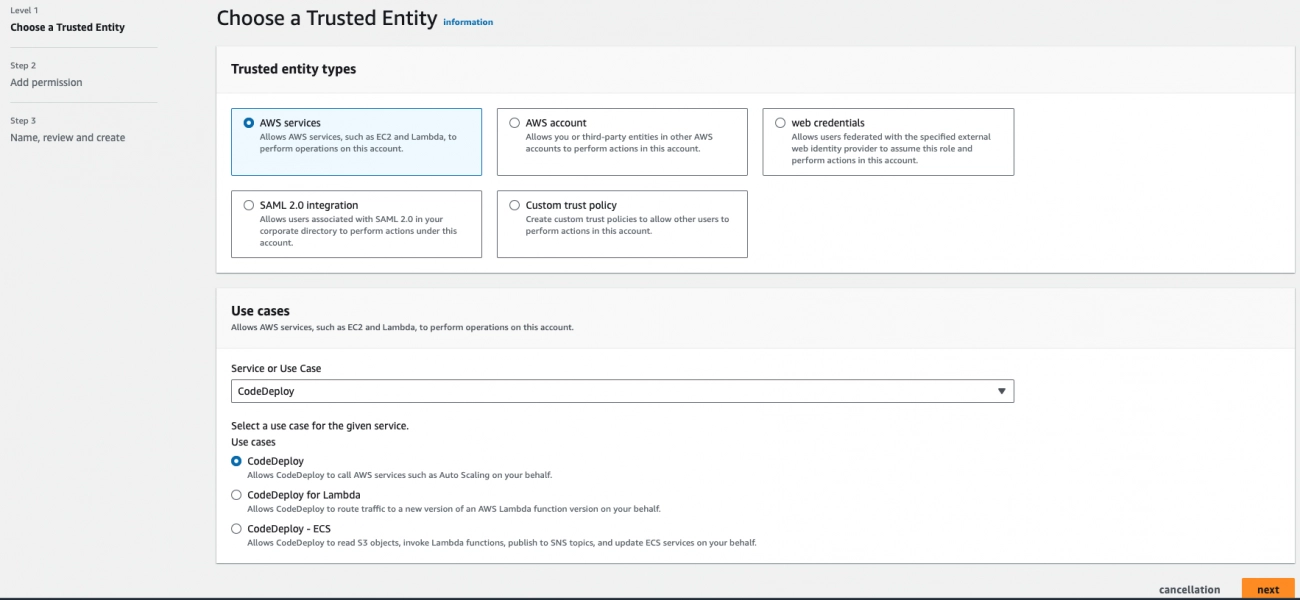
Create roles by specifying CodeDeploy as the type that uses AWS service. The permissions are automatically established, so name them well and create them.
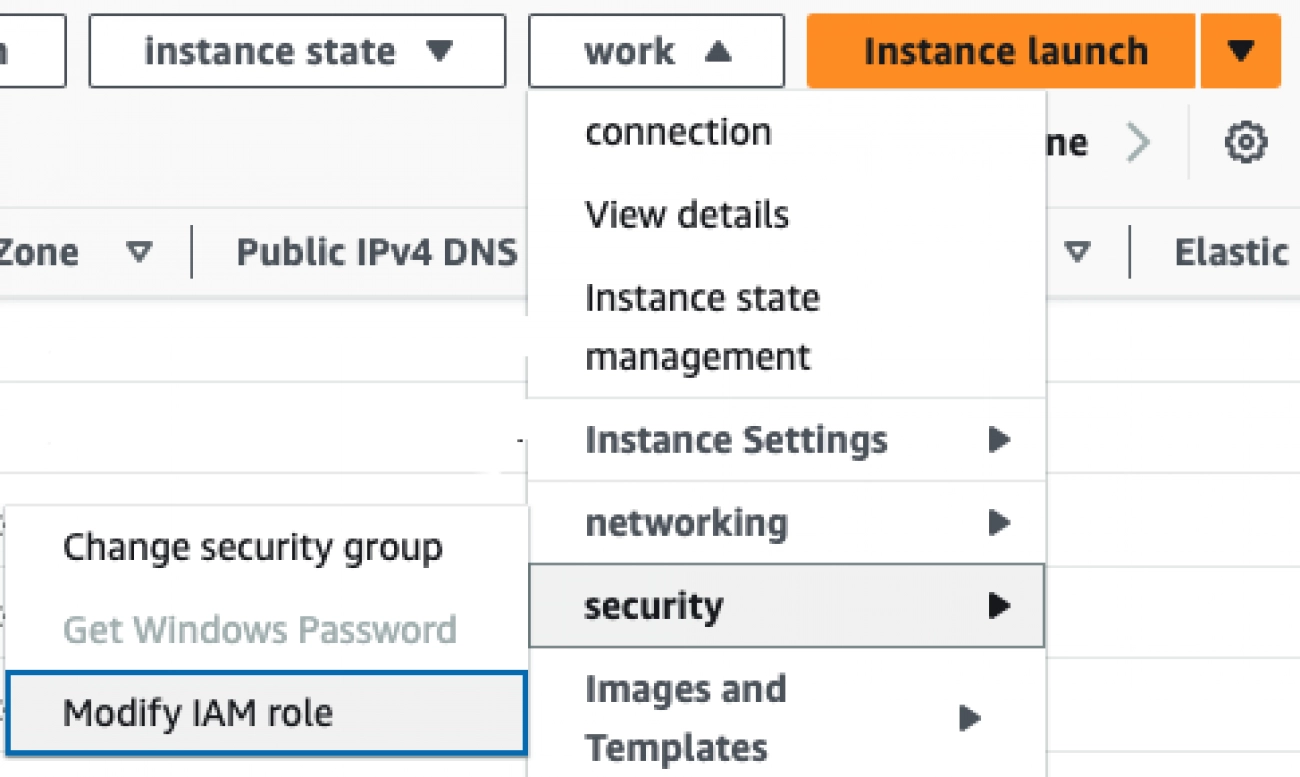
We need to change the instance IAM. Change the IAM of the instance by "work -> security -> modify IAM role". On the change page, the only thing that can be changed to an instance’s role is AWSClud9SSMInstanceProfile. Locate the AWSClud9SSMInstanceProfile in the IAM and add AmazonS3FullAccess to the permission policy. This is because you need permission to access built files.
3. AWS CodeDeploy setting
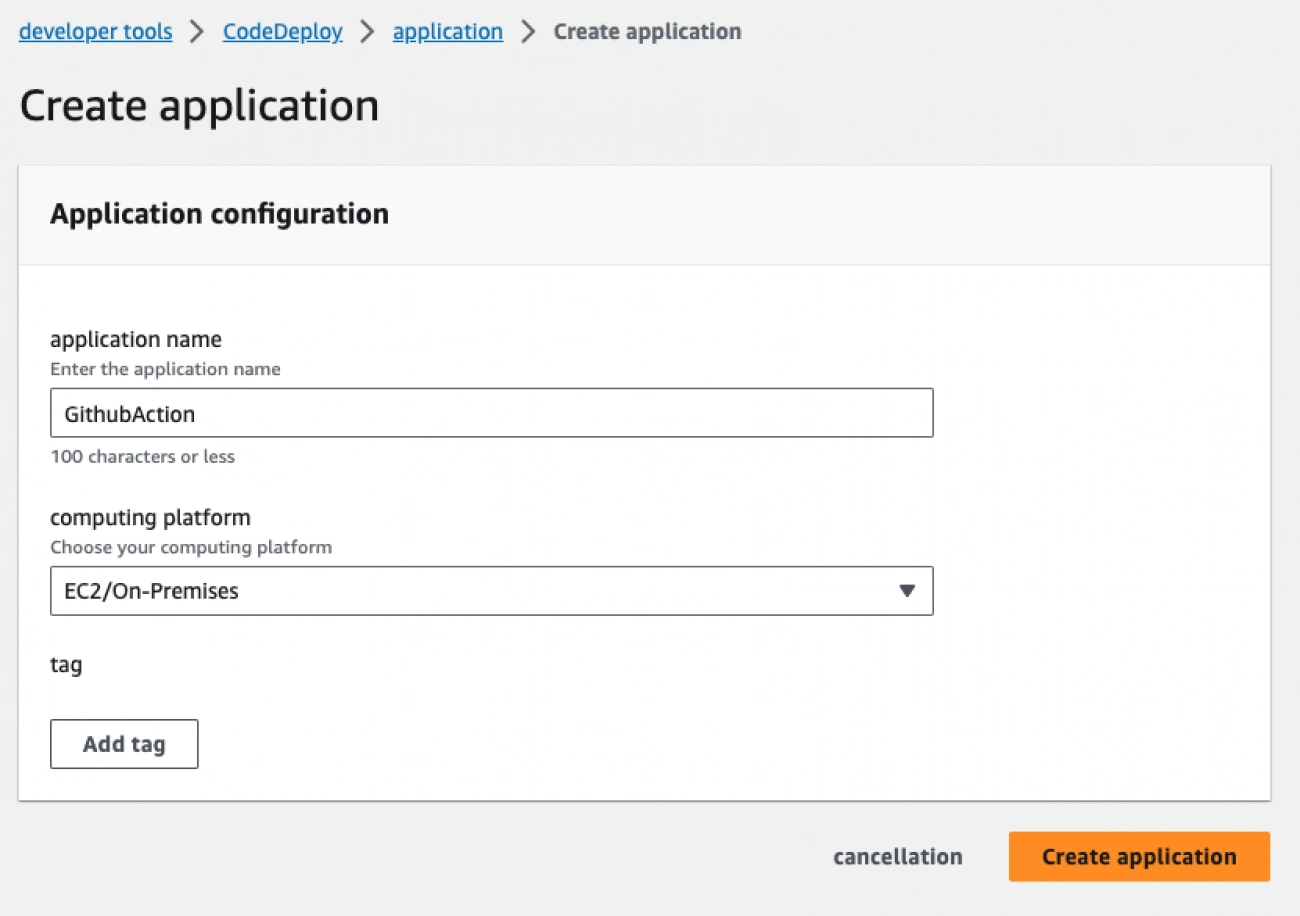
Create a CodeDeploy application to run deployment commands. Name is GithubAction.
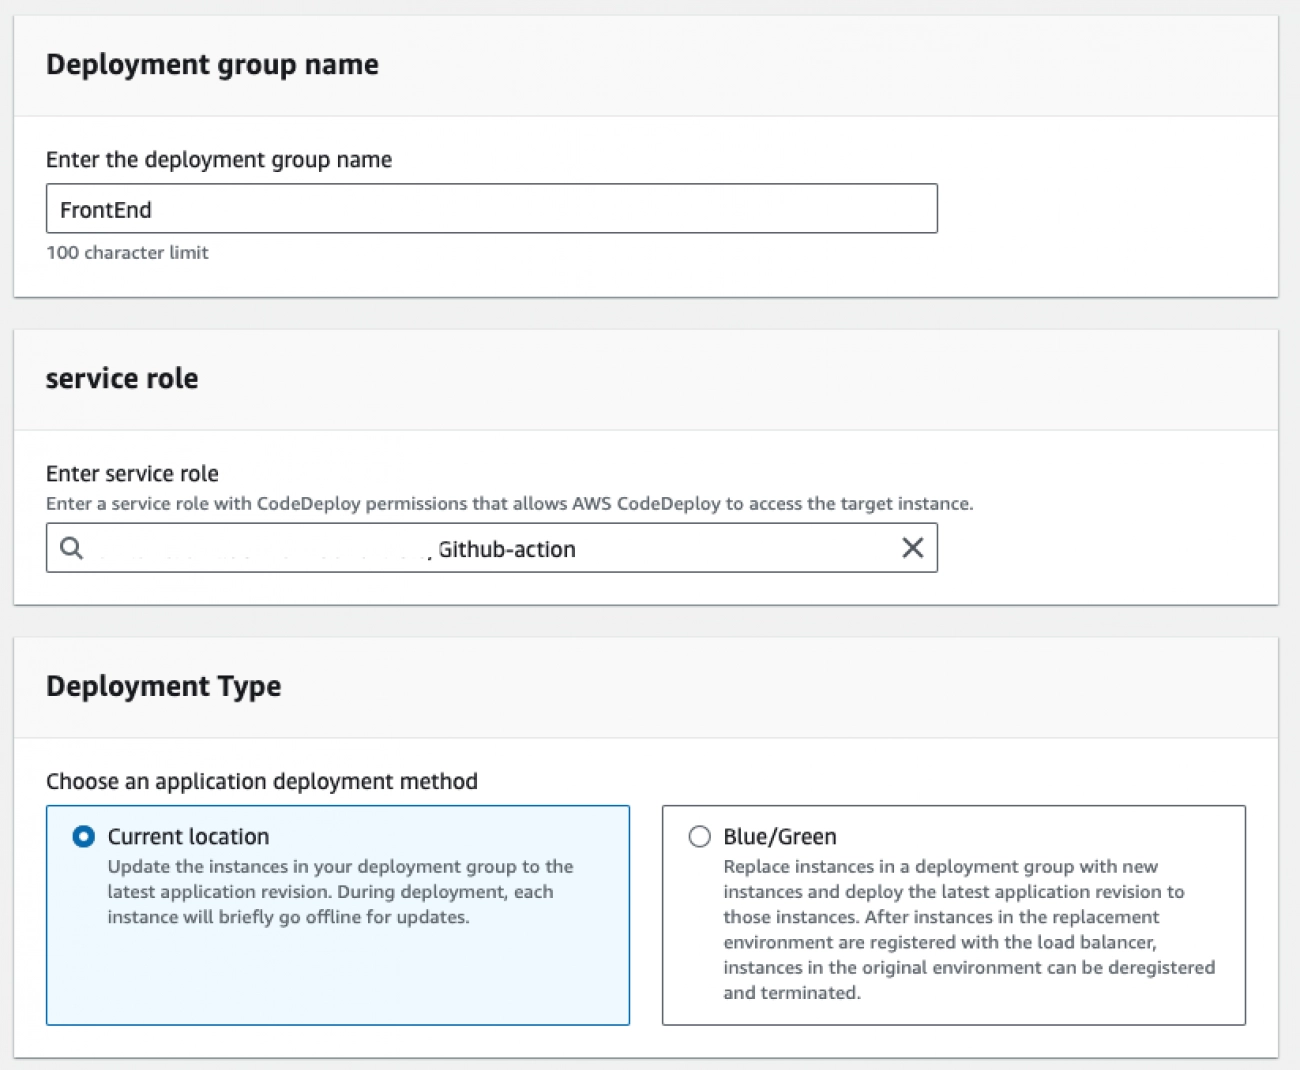
Once an application has been created, create a deployment group under the application. We’re deploying a Nuxt3 project, so we’ll name the group FrontEnd. For the service role, select the Github-action role that IAM generated.
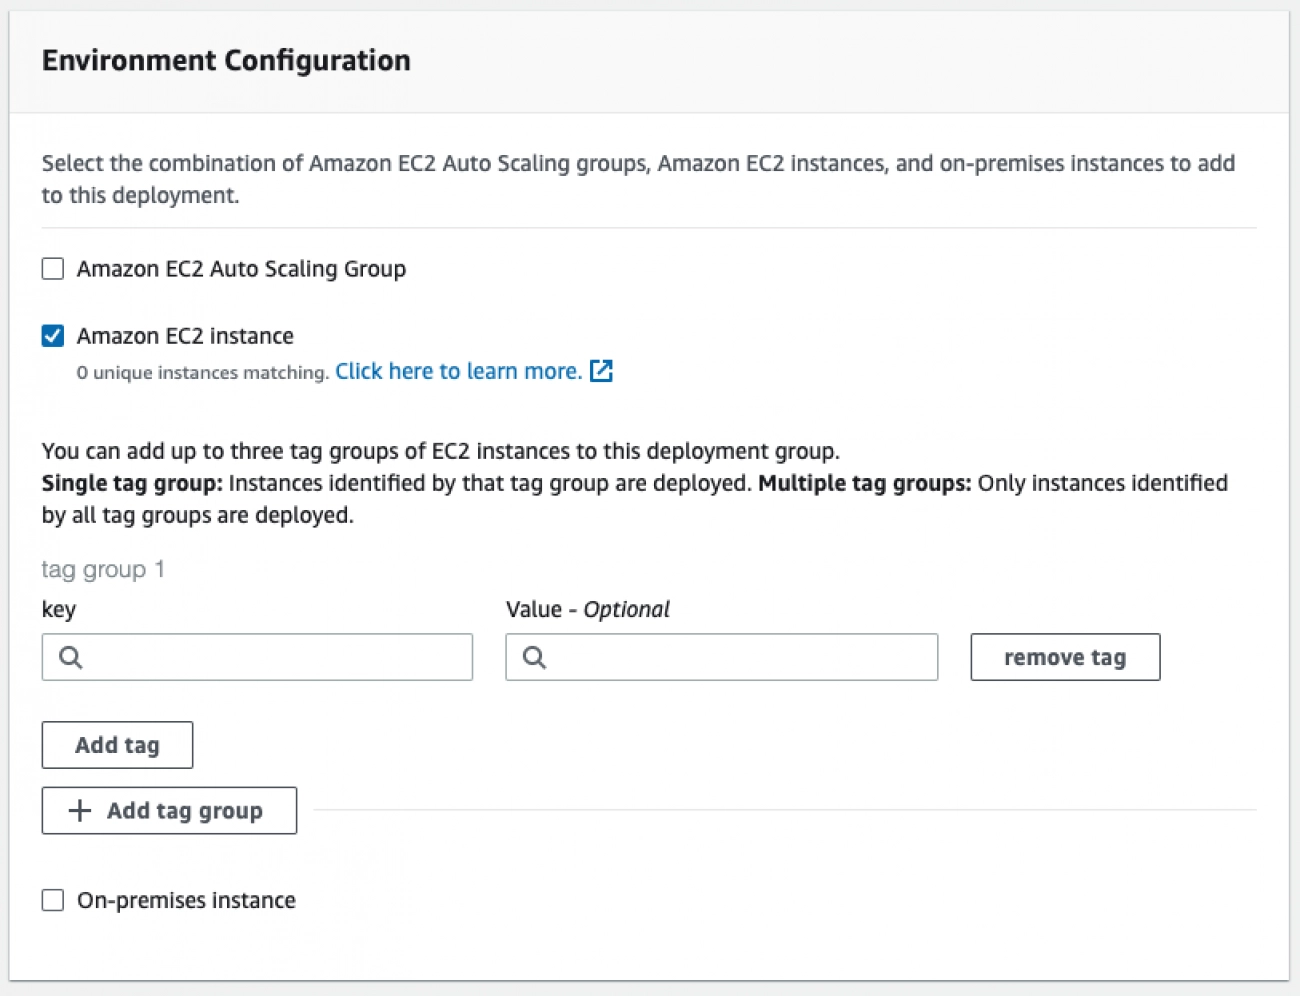
We select the instance to be deployed. If the key is a Name, you can select it using the name you used to create the instance.

Set up CodeDeploy Agent setting and deployment configurations as above. You can use the load balancer part when you have server redundancy. We don’t have it now, so we didn’t set it up separately.
4. Create S3 Bucket
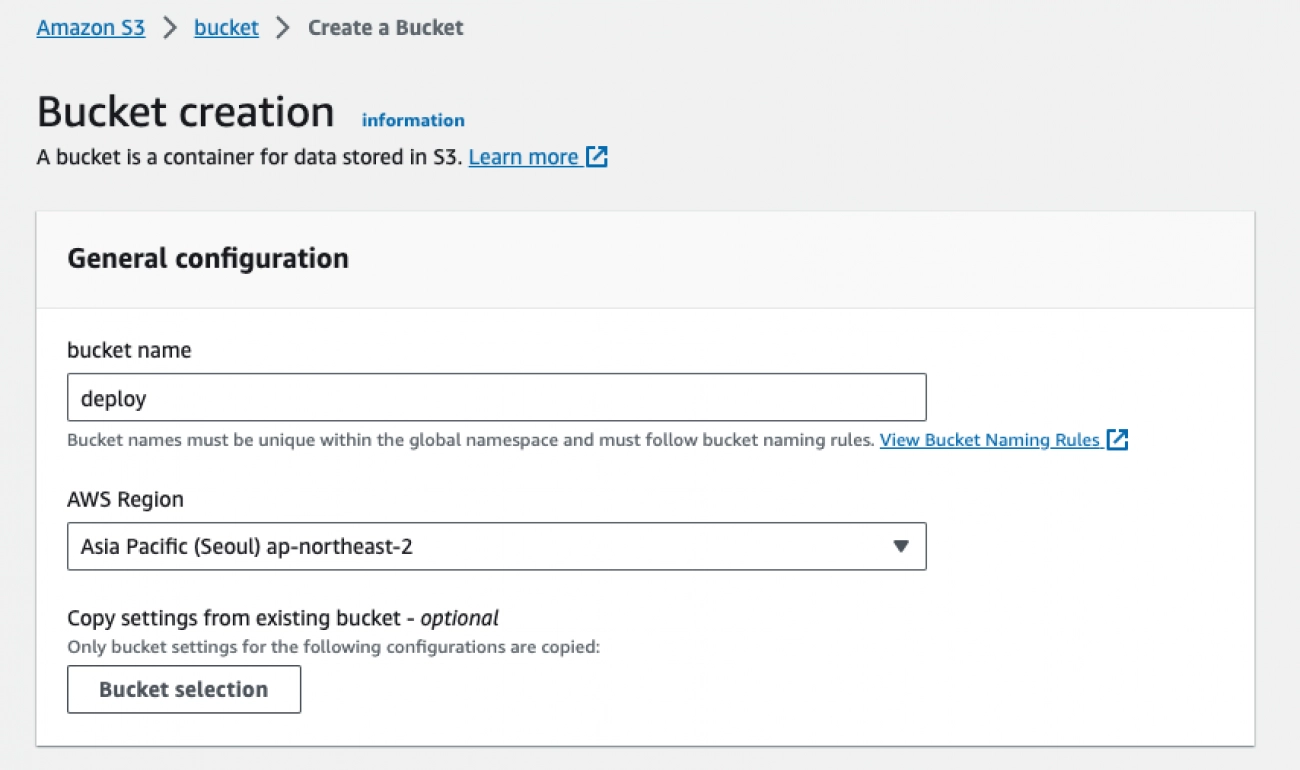
In S3, create a bucket to store files for deployment. The built files will be uploaded to the bucket in the future. The settings for AWS and Github are all over. Since the number of articles has increased, I will continue to write in the next article.

Lovefield
Web Front-End developer
하고싶은게 많고, 나만의 서비스를 만들고 싶은 변태스러운 개발자입니다.

[Western/Ilsan] PIZZERIA DEL POPOLO
Popolo Pizza Review in Ilsan, Goyang-si, Gyeonggi-do
Review

Deployment Nuxt3 Project in AWS EC2 with AWS CodeDeploy and Github Action - Code part
Deploy Nuxt3 to EC2 using AWS CodeDeploy and Github Action
Server